
This lesson is made with PSPX9
But is good with other versions.
© by SvC-Design

Materialen Download :
Here
******************************************************************
Materials:
1968 marytube-2020.png
B.karácsonyi -persp.-maryts-2020.f1s
B.karácsonyiwomen-persp.-maryts.-2020.f1s
karácsonyi csüngï 542- marytube-2020.png
masques1.jpg
Text.png
B. kar. fehér csillag-maryts-2020.png
B. kar.dekor 1 - maryts-2020.png
B. kar.icsiilag kék 1-maryts-2020.png
B.kar. csillag kék,-maryts-2020.png
B.kar.csillagdekor-maryts-2020.png
b.kar.decor-maryts-2020.png
B.kar.kék hópehely-maryts-2020.png
csillagfény-maryts-2020.png
******************************************************************
Plugin:
 Plugin - Mehdi - Weaver
 Plugin - Nick Software - Color Efex Pro - Graduated Filter
 Plugin - MuRa's Meister - Perspective Tiling
Filter - Flaming Pear - Indian Ink
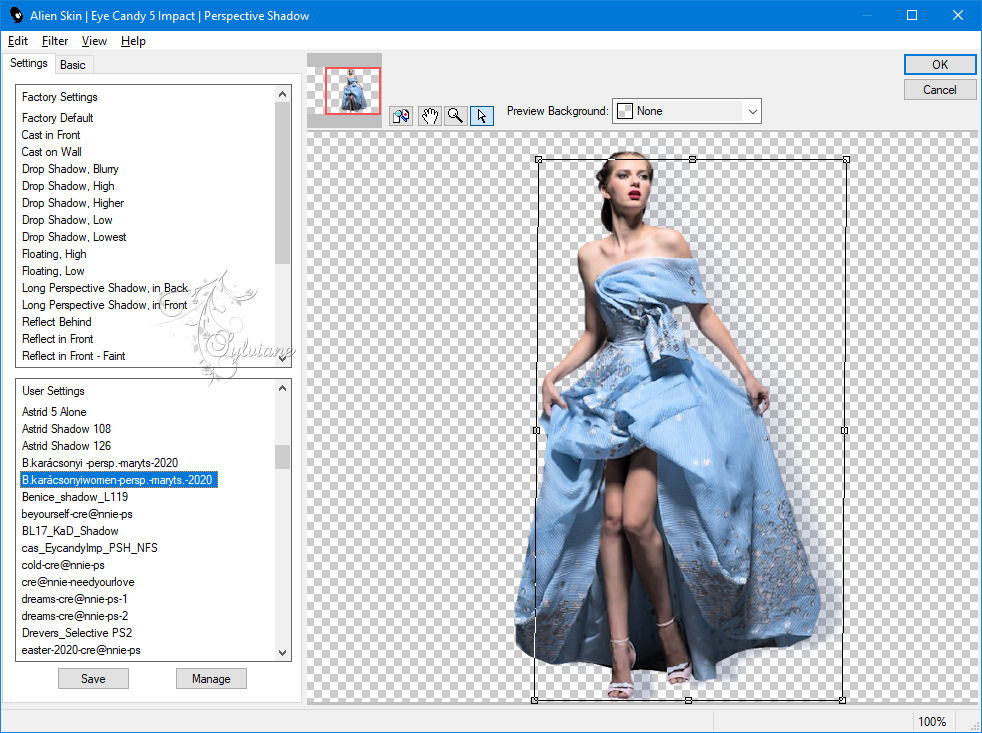
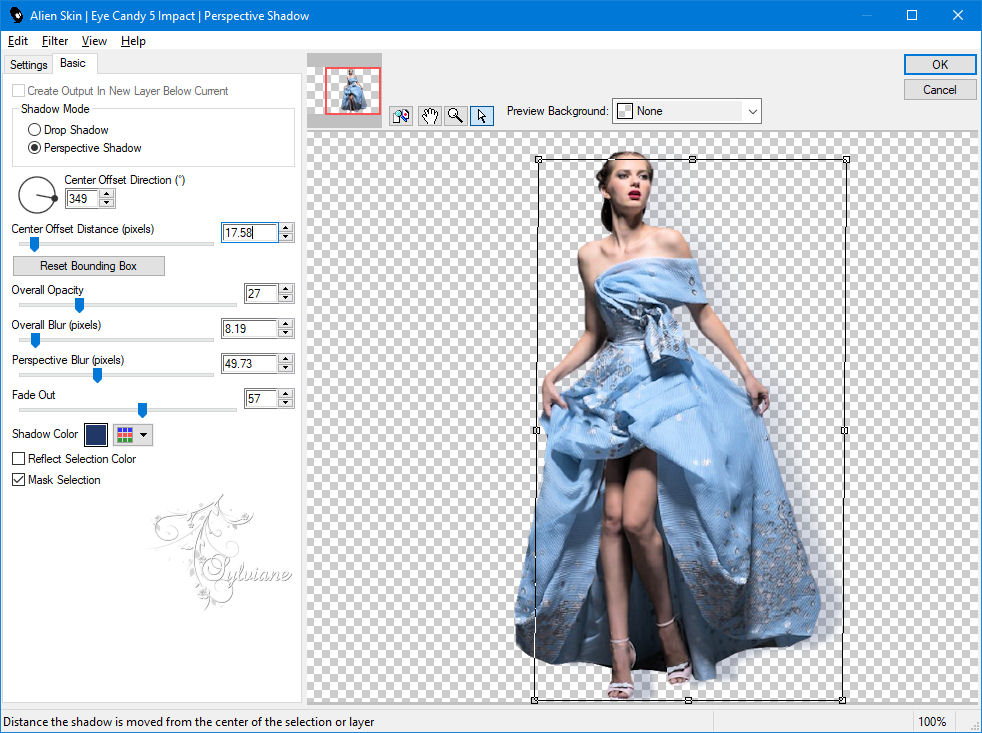
 Plugin  - Alien Skin Eye Candy 5: Impact - PespectĂve Shadow
******************************************************************
color palette
:

******************************************************************
methode
When using other tubes and colors, the mixing mode and / or layer coverage may differ
******************************************************************
General Preparations:
First install your filters for your PSP!
Masks: Save to your mask folder in PSP, unless noted otherwise
Texture & Pattern: Save to your Texture Folder in PSP
Selections: Save to your folder Selections in PSP
Open your tubes in PSP
******************************************************************
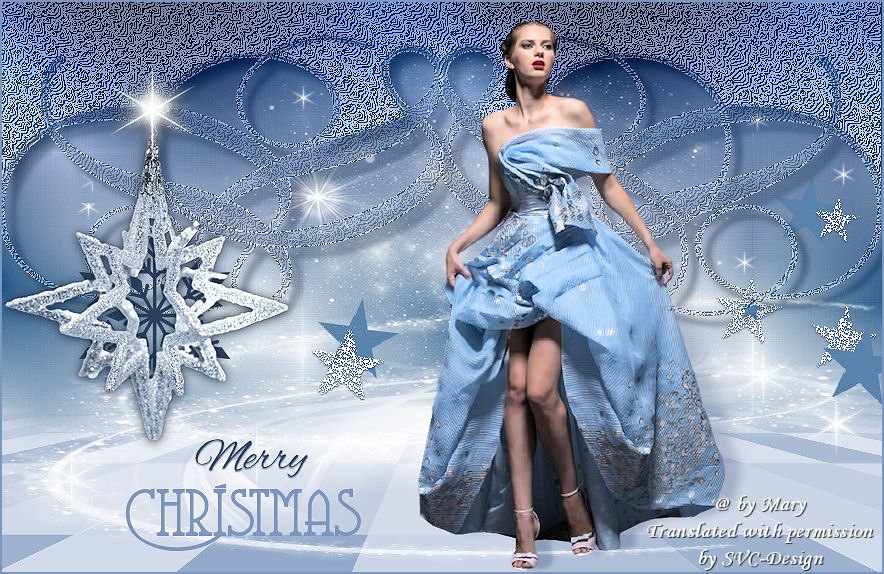
We will start - Have fun!
Remember to save your work on a regular basis
******************************************************************
1.
Open a new 880 x 570 pixel transparent image
2.
Pour out Gradienttel.- Rectangular
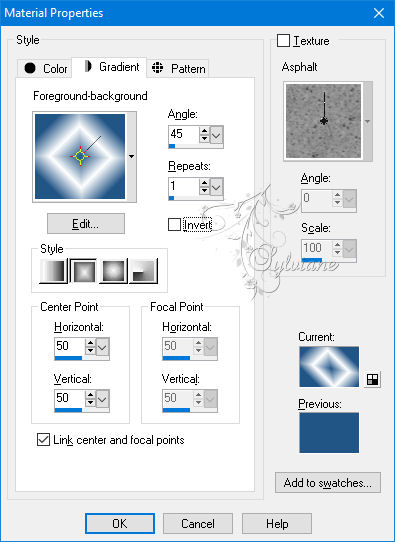
fill with gradient
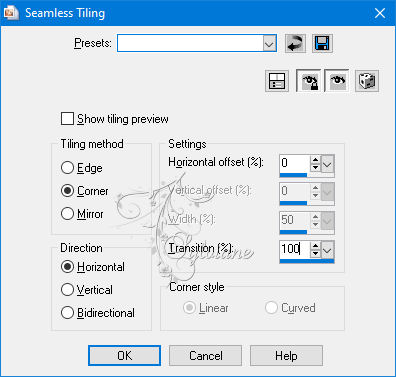
3.
Effects - Image Effect - Seamles Tiling
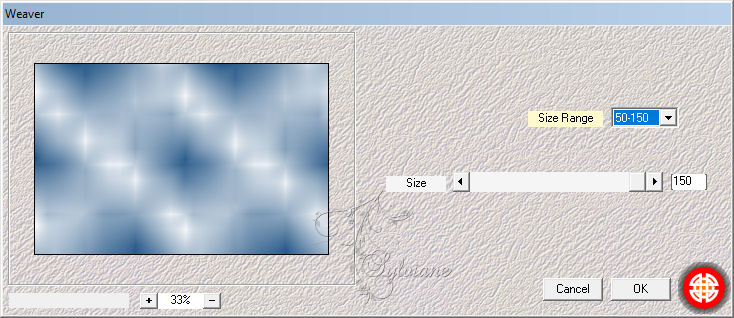
4.
Plugin - Mehdi - Weaver
5.
Effects - Edge Effects - Enhance More
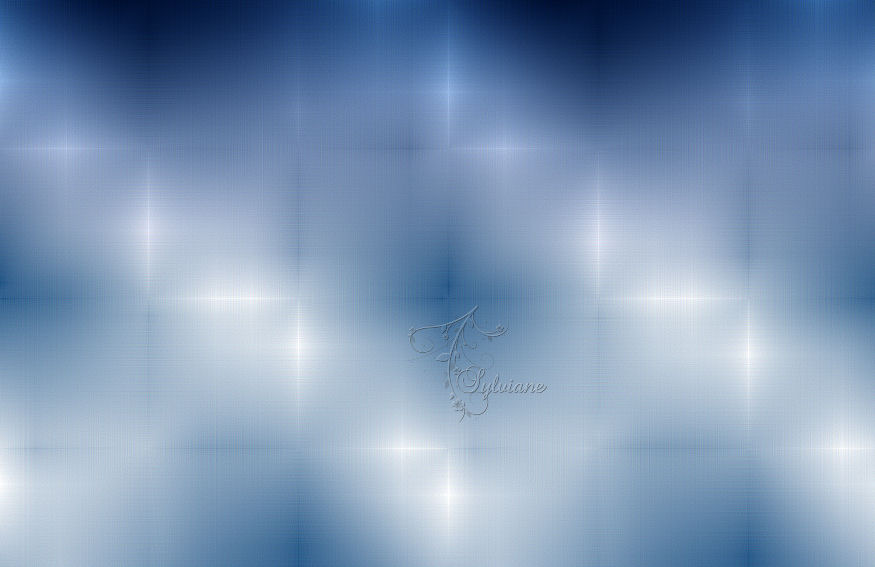
6.
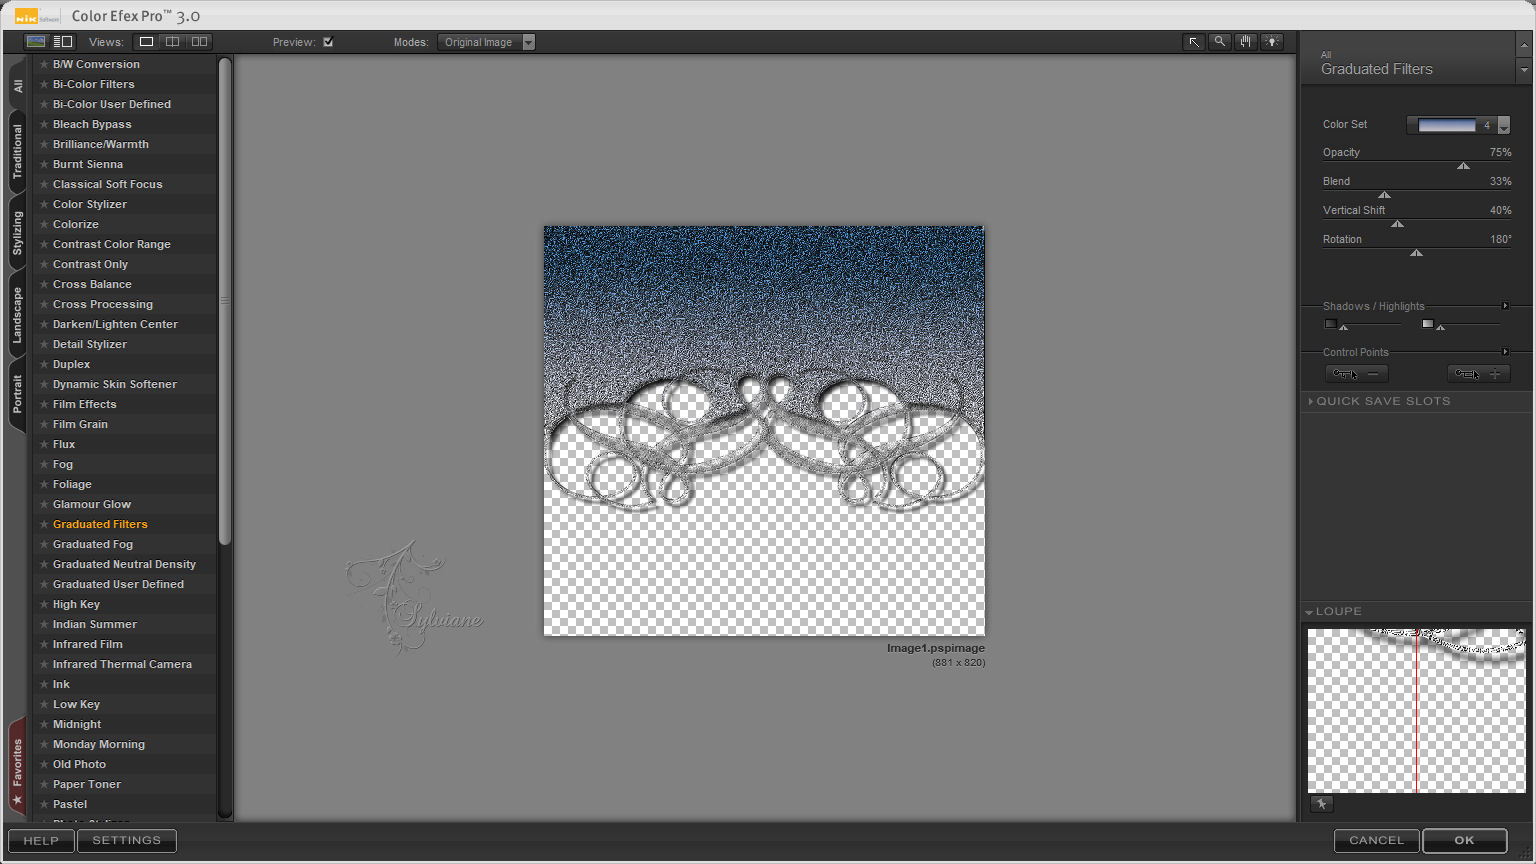
Plugin - Nick Software - Color Efex Pro - Graduated Filter
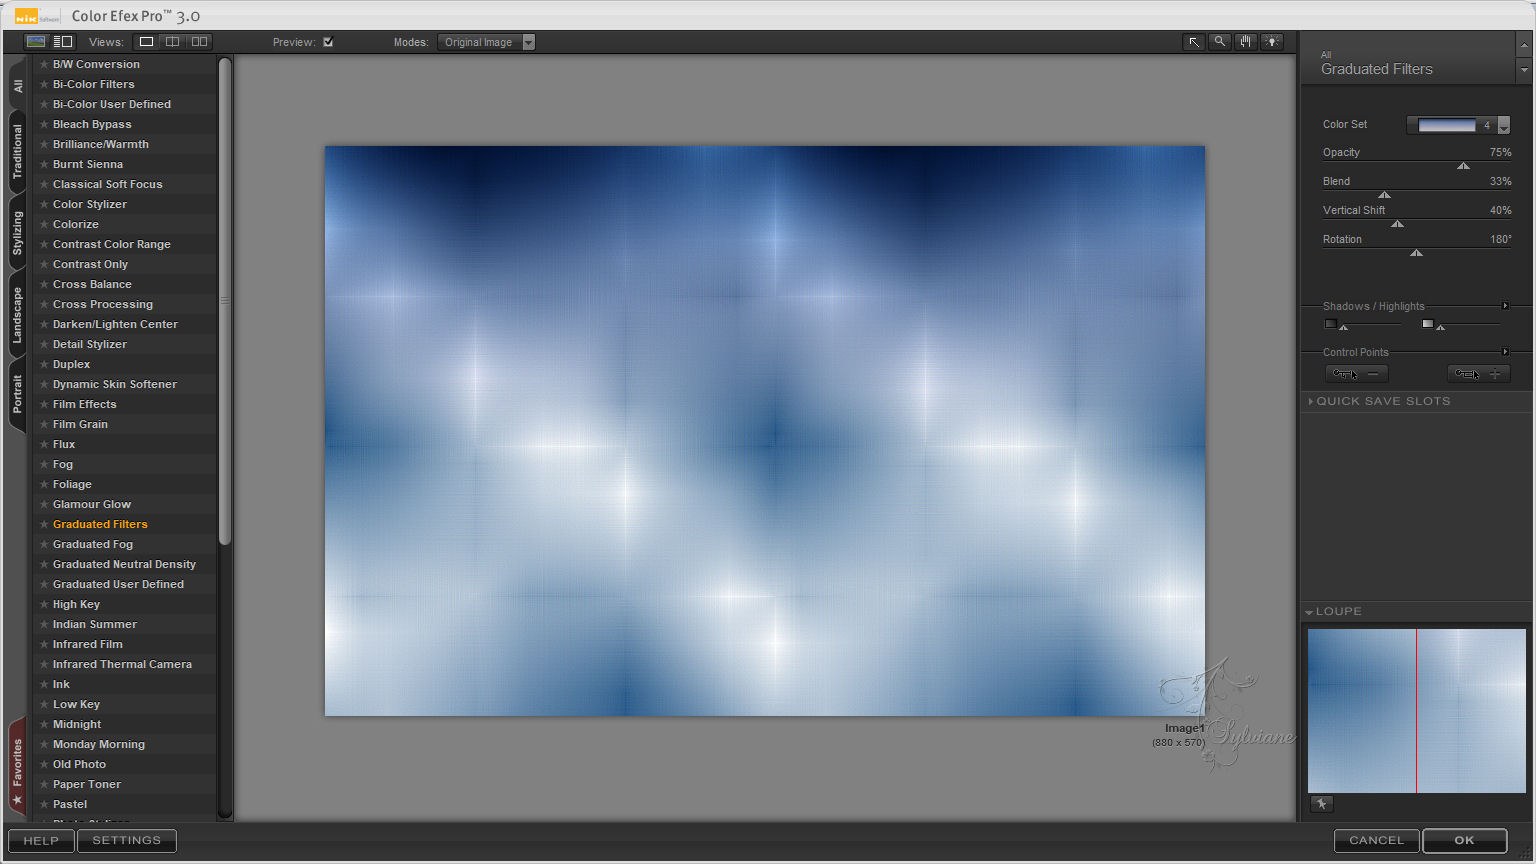
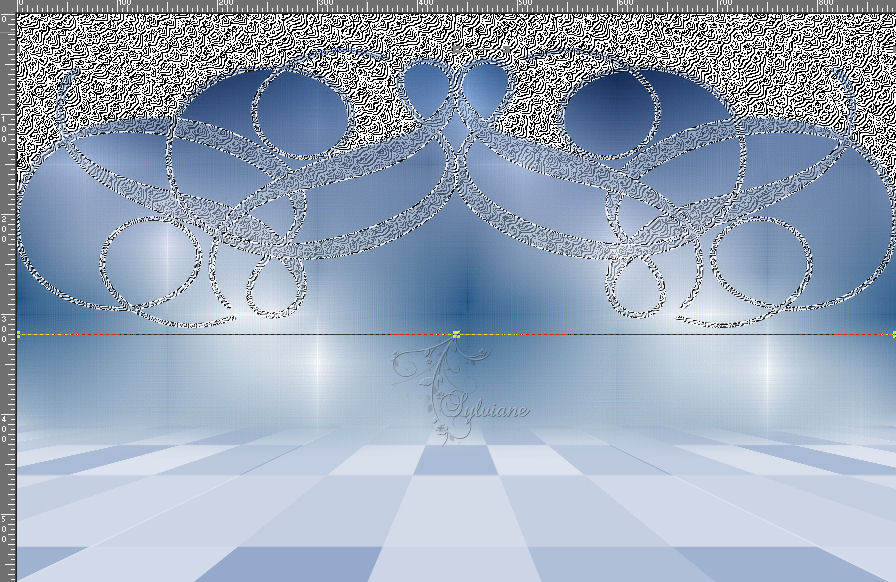
That is the result
7.
Layers - new raster layer
8.
Make  Rectangular gradient
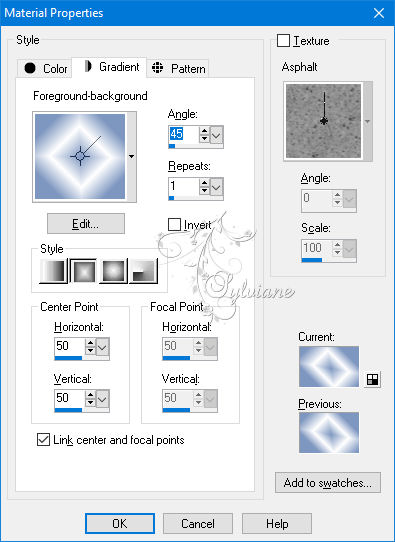
fill with gradient
9.
Effects - Image Effect - Seamles Tiling
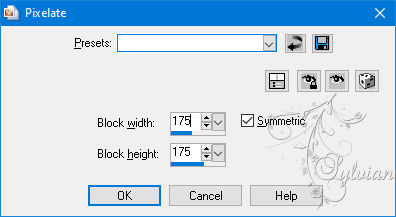
10.
Effects - Distortion Effects -Pixelate
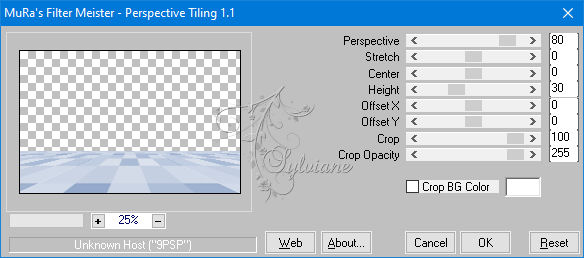
11.
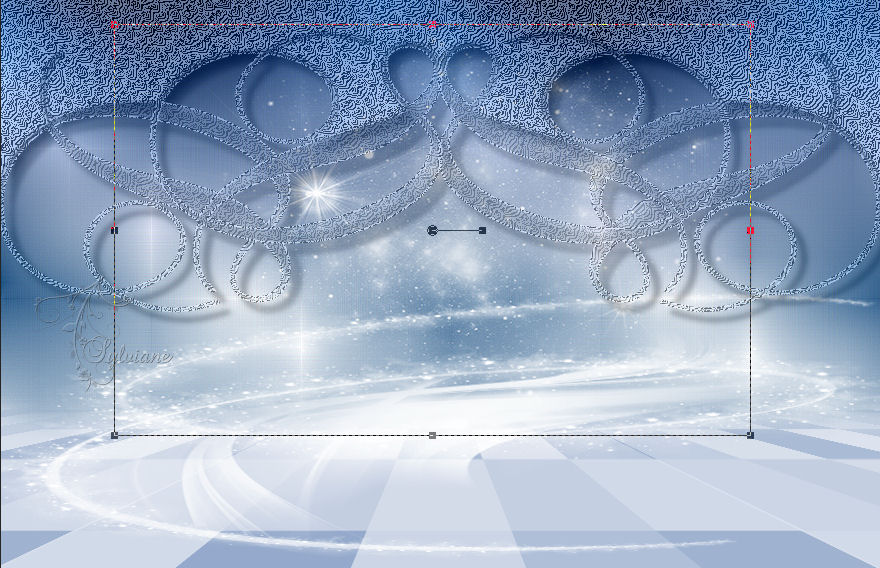
Plugin - MuRa's Meister - Perspective Tiling
12.
activate the magic wand
and activate the transparent piece
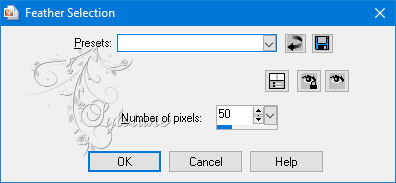
13.
Selections - Modify - Feather
14.
Delete 7x times
15.
Srelections - Select None
16.
Layers - new raster layer
17.
Fill with #7e97c0
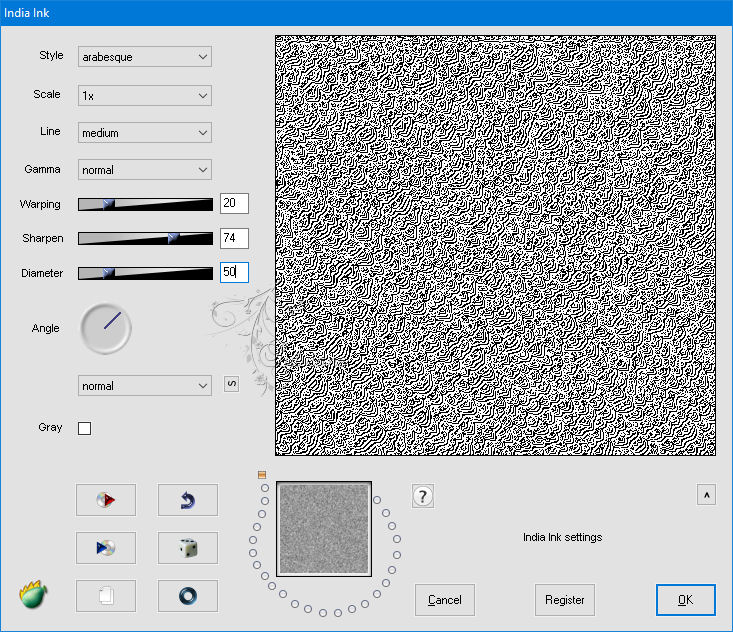
18.
Filter - Flaming Pear - Indian Ink
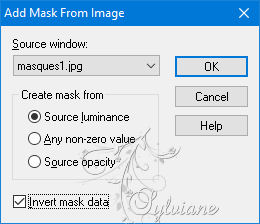
19.
Layers - New Mask Layer - From Image
20.
Layers - Merge - Merge - Group
21.
Grab it in the middle and apply the mask - DO NOT compress to -320 px.
It doesn't matter if you go out of the picture and then cut off the Visible.
22.
Blend Mode: Lumanica (L)
Opacity: 55%
Here is the picture
23.
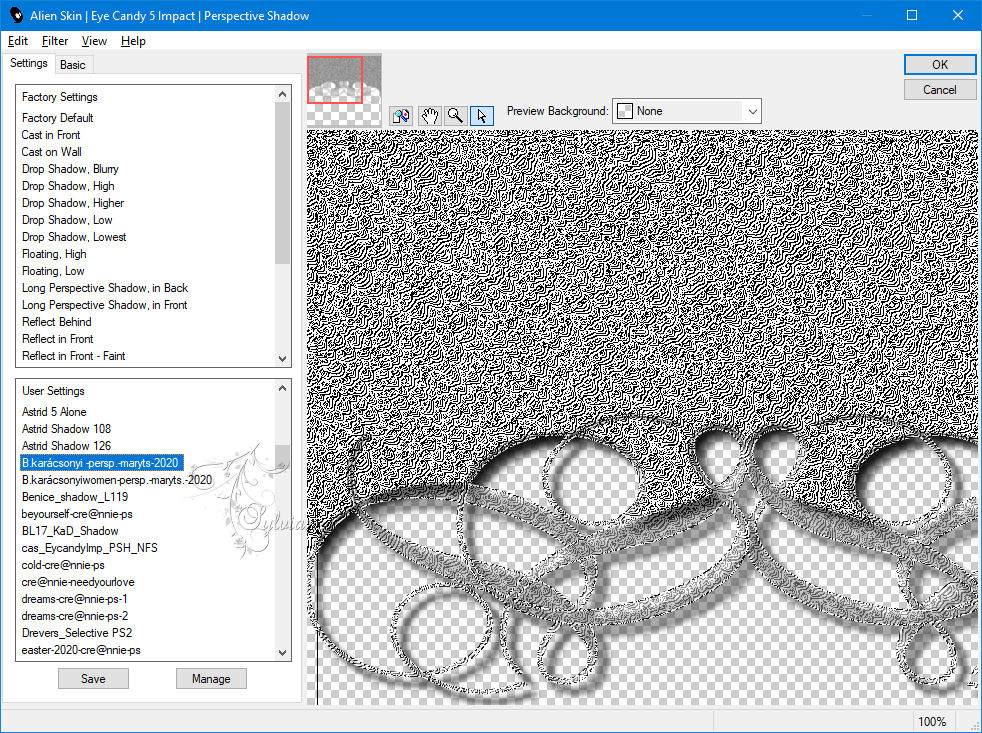
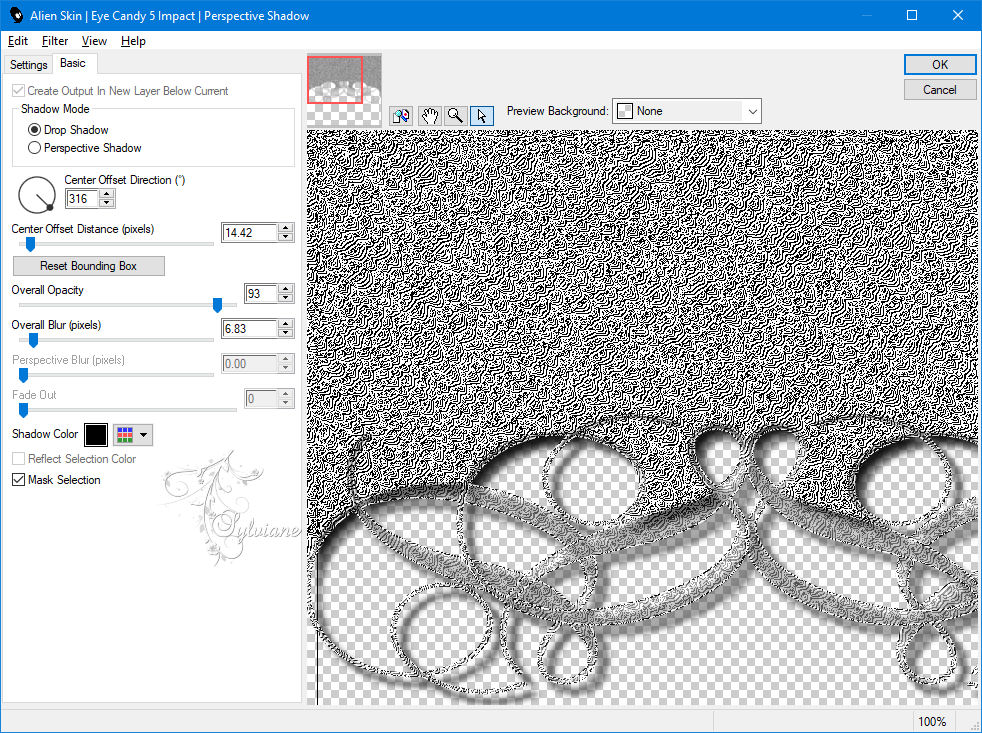
Plugin  - Alien Skin Eye Candy 5: Impact - PespectĂve Shadow
Colour: Black
24.
Plugin - Nick Software - Color Efex Pro - Graduated Filters
25.
Activate raster 2
26.
Layers - new raster layer
27.
Edit - Copy - B. kar.dekor.mts ... -place it as shown below

28.
Layers - new raster layer
29.
Edit - Copy - B. kar. Dekor1 - Center the image as seen.
30.
Layers - new raster layer
31.
Edit - Copy - B. Kar. star decor ..
Your picture so far

32.
Layers - new raster layer
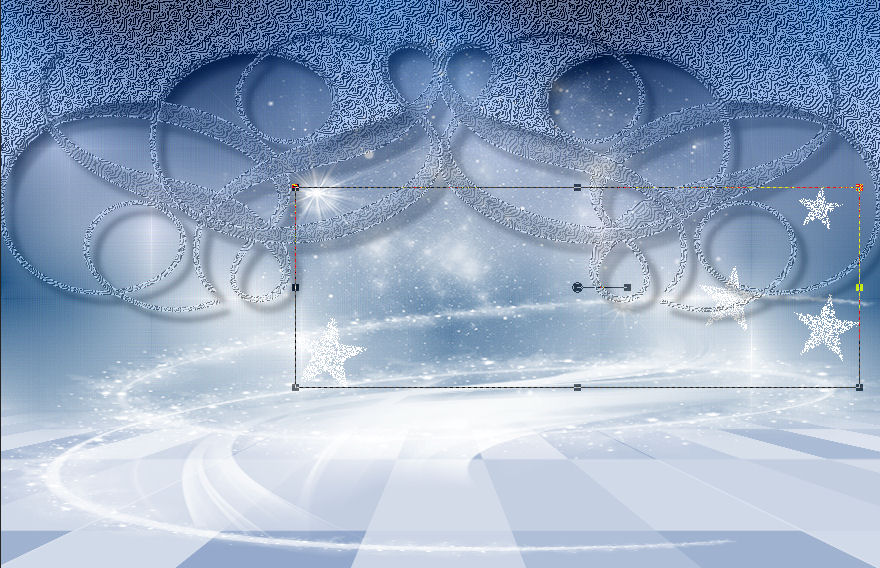
33.
Edit - Copy - B. kar. white star ...-
34.
Blend Mode: Disolva
Opacity: 70%
Your picture
35.
Layers - new raster layer
36.
Edit - Copy - B. kar. star blue .... adjust as shown below
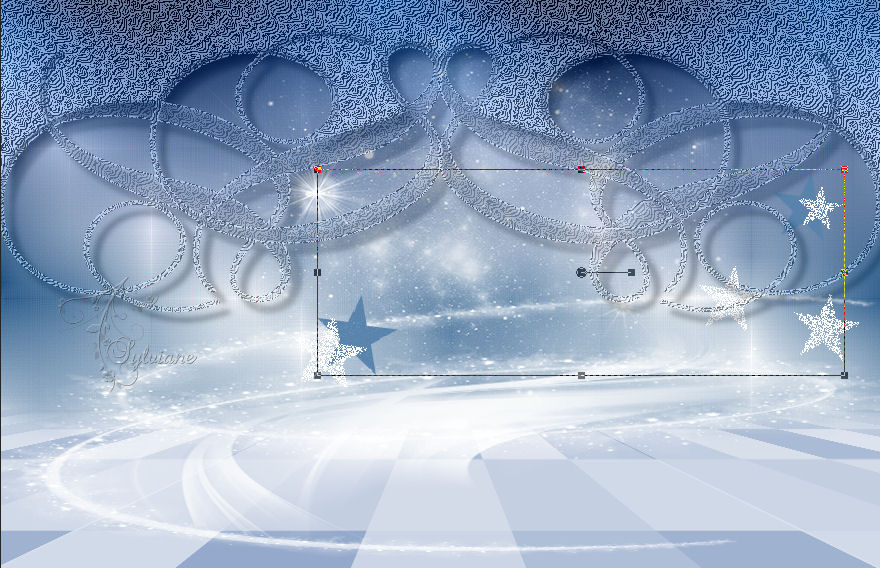
37.
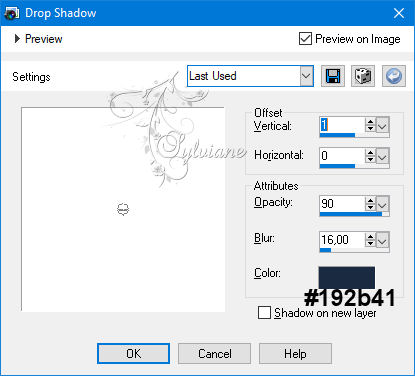
Effects - 3D Effects - Drop Shadow
You adjust the color to your image

38.
Layers - Arrange - Move Down
39.
Layers - new raster layer
40.
Layers - Arrange - Move Up
41.
Edit - Copy - B. arm star blue 1- align as seen
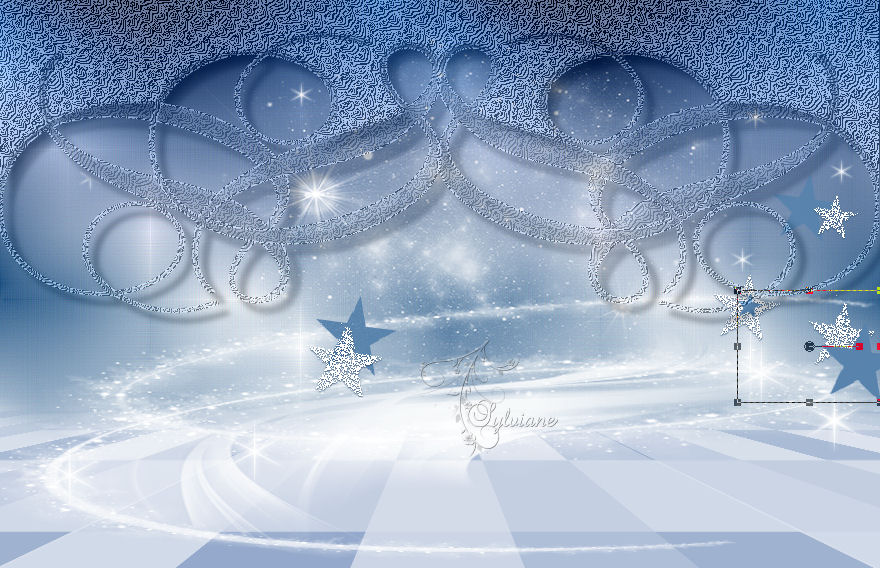
42.
Layers - new raster layer
43.
Layers - Arrange - Move Up
44.
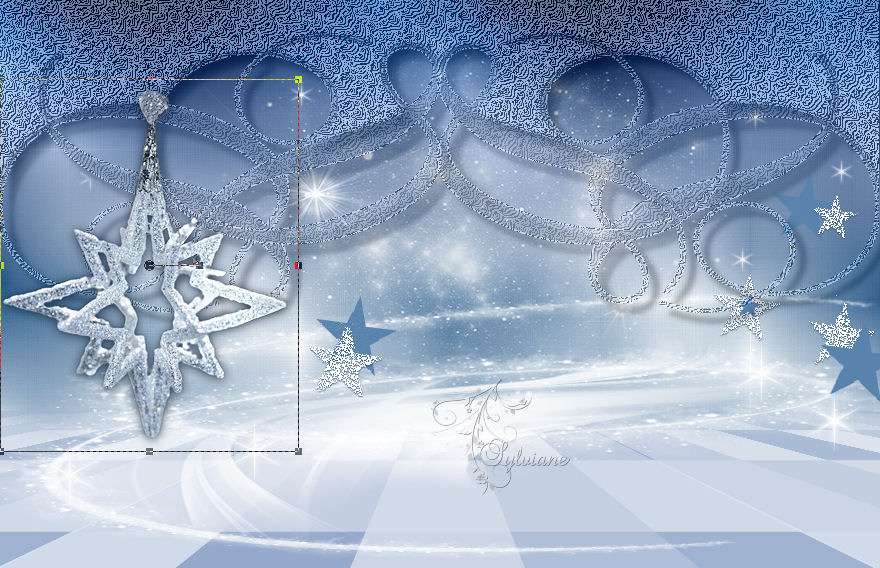
Edit - Copy - 542 Christmas hanging
Image - Resize â€ô 90%
position left as shown below
45.
Effects - 3D Effects - Drop Shadow
46.
Adjust - Sharpness - Sharpen.
47.
Layers - new raster layer
48.
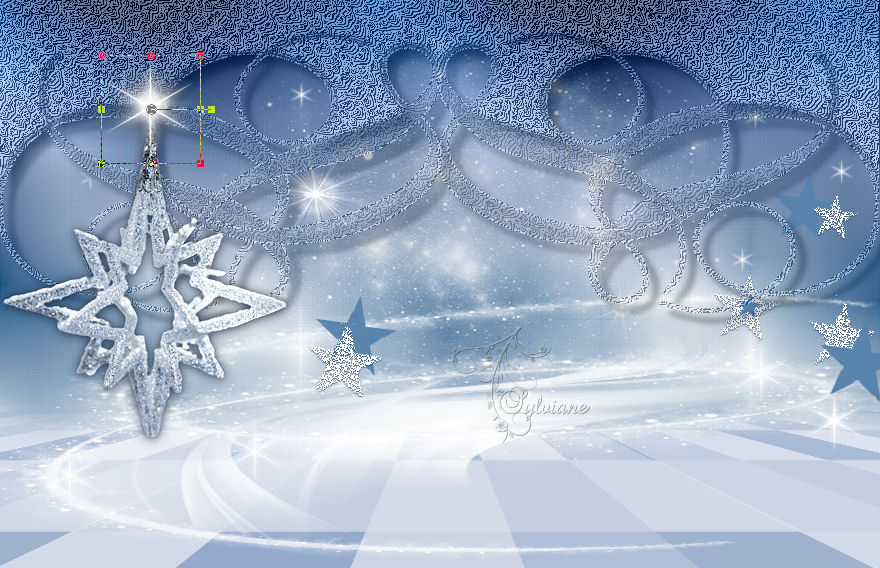
Edit - Copy - Starlight - place on top of the pendant. Picture
49.
Layers - new raster layer
50.
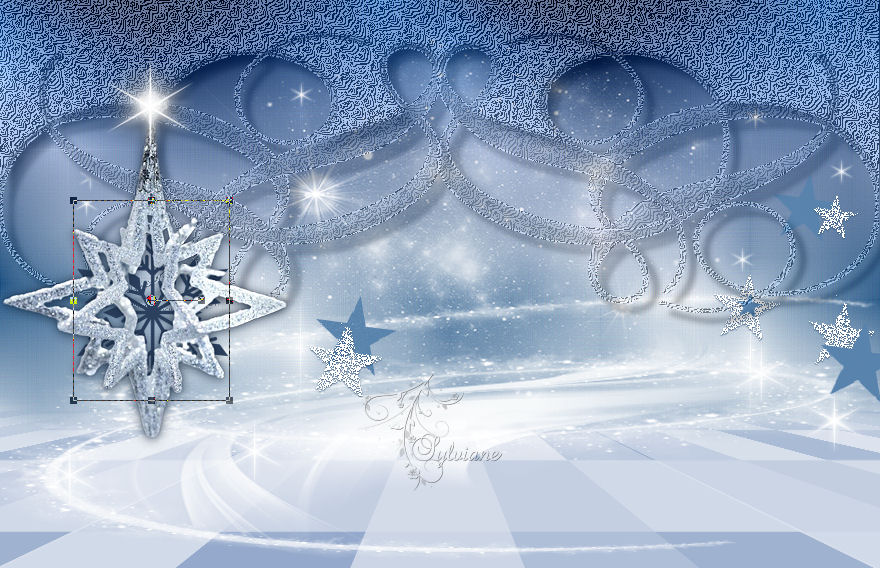
Edit - Copy - B. kar. blue snowflake -adjust to the pendant.
51.
Layers - Arrange - Move Down 2x
Here it is!
52.
Layers - new raster layer
53.
Edit - Copy - 1968 women tube - Place it in the big picture.
54.
Plugin - Alien Skin Eye Candy 5: Impact - PespectĂve Shadow
55.
Layers - new raster layer
56.
Edit - Copy - paste the Text into the image location.
57.
Layers - Merge - Merge Visible.
58.
Adjust - Sharpness - Sharpen.
59.
Selections - Select All
60.
Image - Add Borders  - 2 pixels - color:#7e97c0
61.
Selections - Select None.
62.
Put your waterkmark
63.
Layer â€ô merge â€ô merge all (flatten)
64.
Save as JPEG
Back
Copyright Translation © 2020 by SvC-Design